Attention: this is a legacy library and thus not supported by Toradex anymore. We recommend that you use the new libraries for all Toradex modules. Please see the Toradex CE Libraries and Code Samples for up-to-date information.
The interrupt library is used for interrupt handling capabilities of Toradex module.
Use cases:
We provide free [IntLib] including demo source code.
| VS2008 Project | VS2013 Project | VS2015 Project | Module compatibility | Language | Library Version |
|---|---|---|---|---|---|
| Demo | - | - | PXA / Tegra | C | Toradex CE Library (Old) |
| Demo | Demo | Demo | Tegra / VFxx / iMX6 | C | Toradex CE Library (New) |
| Demo | - | - | PXA / Tegra | C# | Toradex CE Library (Old) |
| Demo | - | - | VFxx / iMX6 | C# | Toradex CE Library (New) |
Note: With Toradex New library version ToradexCeLibraries_V1_6_3123, VC sharp functions for interrupt library are not imported, so only for this demo we have updated TdxAllLibraries.cs to include class Int which will have all function imported for interrupt library from TdxAllLibraries.dll._
Note: It is always recommended to update the libraries first before compiling the demo project. Click on this link to get latest libraries.
The setup on the Colibri Evaluation Board V3.1A can be seen here.

This application demonstrates the use of Interrupt library by capturing an interrupt at GPIO pin (SODIMM_101) and blinking an LED every time an interrupt is captured.
The sequential process followed in the demo is:
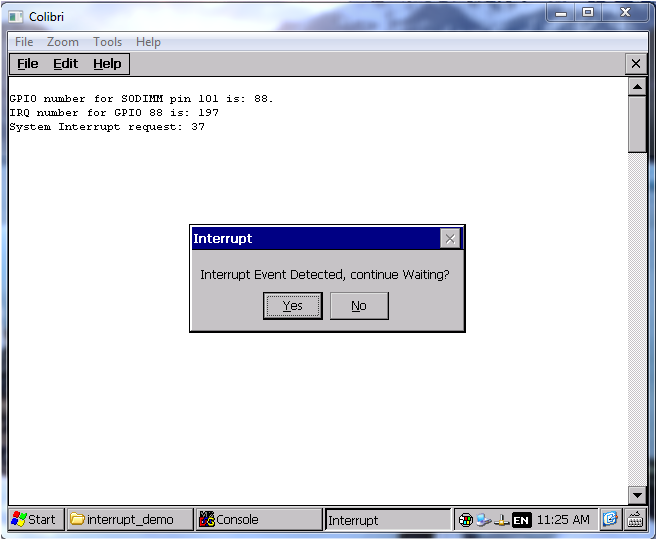
Following image shows the output window of the application:
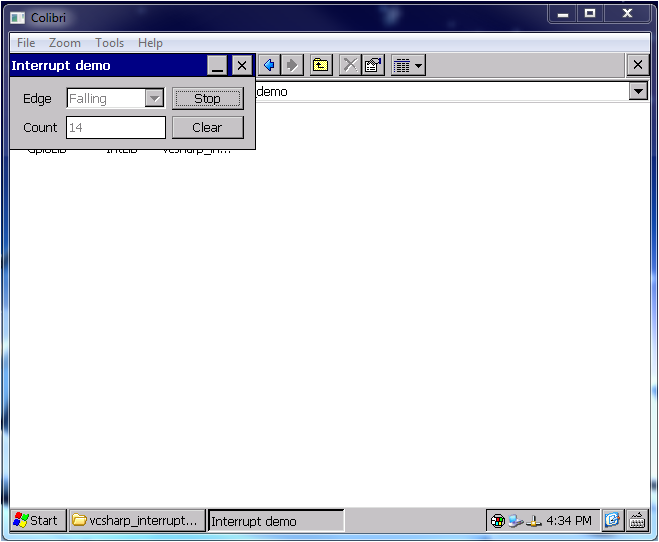
Following GUI will open: