Attention: the Quickstart Guide for BSP 2.8, based on the Ångström distribution, is not being updated anymore. Depending on your SoM, you have different options:
Vybrid and Tegra: the information is provided as-is and still accurate, since newer Toradex BSPs are not ported to those SoMs. Just keep in mind that the Guides are not being maintained anymore, even if we find bugs or outdated instructions.
Apalis TK1 (all variants), Colibri iMX6ULL (all variants), Colibri iMX7S 256MB and Colibri iMX7D 512MB: these computer on modules are still regularly maintained in our BSPs and, to get started, you must check the software page Toradex BSP Layers and Reference Images for Yocto Project. Since Torizon is not supported, at the moment a Quickstart Guide is not available.
All other i.MX-based SoMs: you have two options to get started with embedded Linux: the first is to follow the Quickstart Guide for Torizon, which provides the greatest out-of-the-box experience, or if you choose to use Yocto, check the software page Toradex BSP Layers and Reference Images for Yocto Project.
In this how-to section, you will update to the latest pre-built Linux image provided by Toradex.
In this module you will:
The following table lists the items required:
| List of items required |
|---|
| SD card with more than 2GB |
| Cable USB-micro USB |
Note: The following steps are meant to be run in the development workstation, and not on the target module, unless otherwise stated.
Install the prerequisites for generating the SD card:
sudo dpkg --add-architecture i386sudo apt-get updatesudo apt-get install dosfstools e2fsprogs gawk mtools partedsudo apt-get install zlib1g:i386 liblzo2-2:i386 libuuid1:i386 libusb-1.0-0:i386sudo apt-get install gpartedBefore inserting the SD card in your host computer, list the hard-disks and partitions being used by your system. See the example below:
user@host:~$ df -hFilesystem Size Used Avail Use% Mounted onudev 3,9G 0 3,9G 0% /devtmpfs 792M 50M 743M 7% /run/dev/sda7 42G 30G 10G 75% /tmpfs 3,9G 145M 3,8G 4% /dev/shmtmpfs 5,0M 8,0K 5,0M 1% /run/locktmpfs 3,9G 0 3,9G 0% /sys/fs/cgroup/dev/sda5 922M 340M 520M 40% /boot/dev/sda8 178G 28G 141G 17% /usr/local/dev/sdb5 620G 558G 31G 95% /hometmpfs 792M 92K 792M 1% /run/user/1000Notice that there are two hard-disks: /dev/sda and /dev/sdb. The indexes list different partitions inside the disks and can be ignored.
Insert the SD card in the host computer. A pop-up message should appear. Select the option Do Nothing, as illustrated in the picture below:
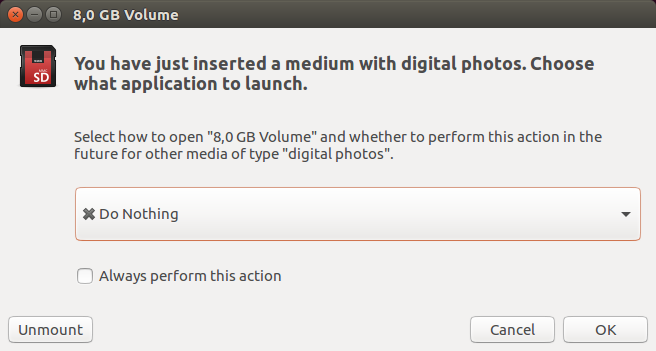
Select *do nothing* after SD card insertion
Notice that some SD cards have a physical lock that enables read-only mode, therefore you have to make sure this lock is not enabled. If the lock is enabled, further steps from this how-to section will not work.
List the hard-disks and partitions being used by your system. See the example below:
user@host:~$ df -hFilesystem Size Used Avail Use% Mounted onudev 3,9G 0 3,9G 0% /devtmpfs 792M 50M 743M 7% /run/dev/sda7 42G 30G 10G 75% /tmpfs 3,9G 145M 3,8G 4% /dev/shmtmpfs 5,0M 8,0K 5,0M 1% /run/locktmpfs 3,9G 0 3,9G 0% /sys/fs/cgroup/dev/sda5 922M 340M 520M 40% /boot/dev/sda8 178G 28G 141G 17% /usr/local/dev/sdb5 620G 558G 31G 95% /hometmpfs 792M 92K 792M 1% /run/user/1000/dev/mmcblk0p1 7,5G 296M 7,2G 4% /media/<user>/3E18-AADENotice that there is a new device, /dev/mmcblk0, and this is the SD card.
If you use an SD card to USB adapter, your device may be listed as /dev/sdX, being X a character that depends on how many disks your system have. For the computer from the exemple, the device is /dev/sdc:
/dev/sdc1 7,5G 296M 7,2G 4% /media/<user>/3E18-AADEAttention: Proceed carefully through the next steps. If you use the wrong device, you will erase the computer hard-disk and permanently lose data.
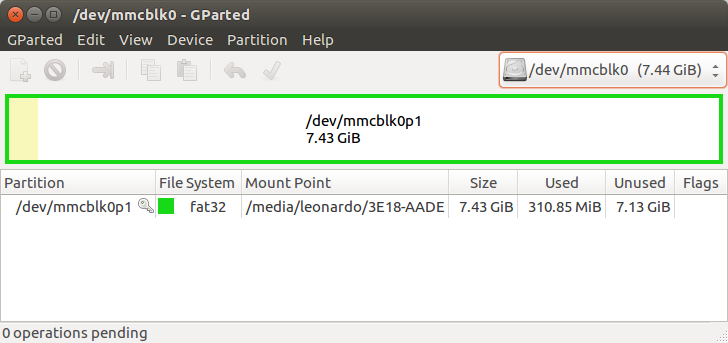
Start gparted from command-line using the SD card device as an argument:
sudo gparted /dev/mmcblk0A window such as presented in the figure below will open. In the top-right corner of the window, only the SD card device must be listed:
Gparted GUI
Warning: If you do not pass the SD card as an argument to gparted, all your drives will be listed and, therefore, you are more prone to formatting your machine's HD.
From the Partition menu, select the Unmount option:

Unmount the SD card
Delete all of the partitions from the SD card, by using the option Delete from the menu Partition:
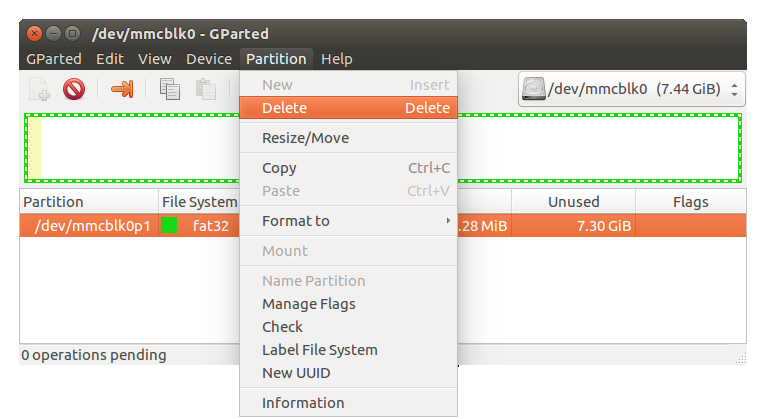
Delete the current SD card partitions
From the Partition menu, select the New option. A new window will appear:
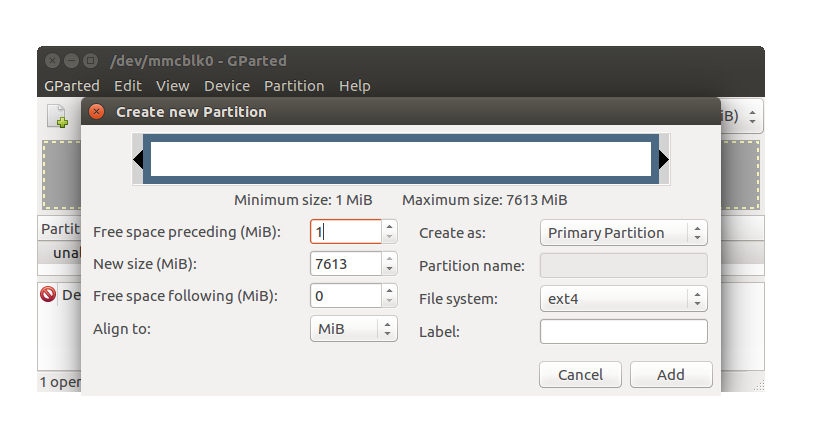
Create new partition
From the File system drop-down menu, select the fat32 option:

Select FAT32 file system
Also create a label for your partition, such as data. This is not mandatory, but when the system automatically mounts the SD card, it will use this label as the name of the directory where the device will be mounted.
Start the process by clicking the green check button Apply All operations, and acknowledge the warning message:
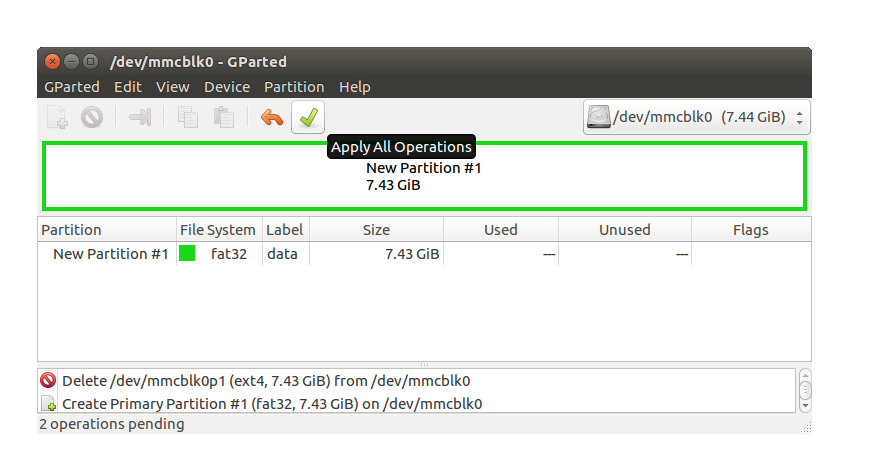
Apply all operations
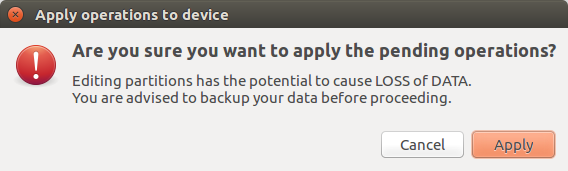
Acknowledge warning message
A window will display information during the process. Just wait until it finishes:

Formatting SD card
In the end, you must have a Gparted window such as the one below. You can then close Gparted.
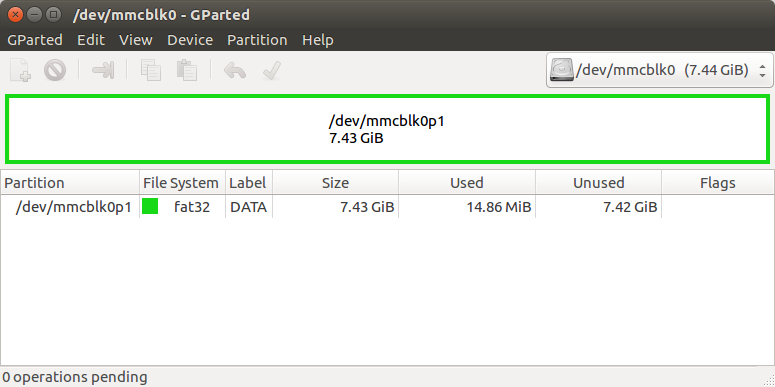
SD card successfully formatted
Mount the SD card. Two easy ways of doing it are: - Either to click the SD card icon in the launcher to the left of the screen, or - Open the files manager and click the SD card partition label listed at the left side of the window.
Both options are illustrated in the figure below:
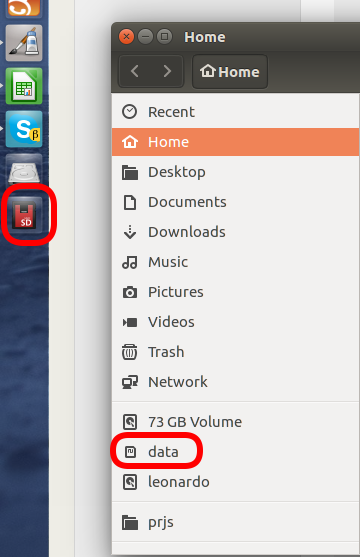
Mount the SD card
Notice that the default mount path for Ubuntu is:
/media/<user>/<partition_label>Where user is the user you are logged in, and partition_label is the label chosen at step 10, or a random alphanumeric value if the label was left blank.
Download the pre-built Linux image. Find the latest Toradex pre-built image for your module here.
Extract the compressed file contents with root privileges:
Note: You must execute as root to preserve the target root filesystem permissions.
sudo tar xjvf Colibri-<SoC-reference>_LXDE-Image_<bsp-version>-<date>.tar.bz2To flash the SD card, enter the Linux image directory and run the update.sh script:
cd Colibri-<SoC-reference>_LXDE-Image_<bsp-version>./update.sh -o /media/<user>/<partition_label>/Unmount the SD card and remove it from the development workstation:
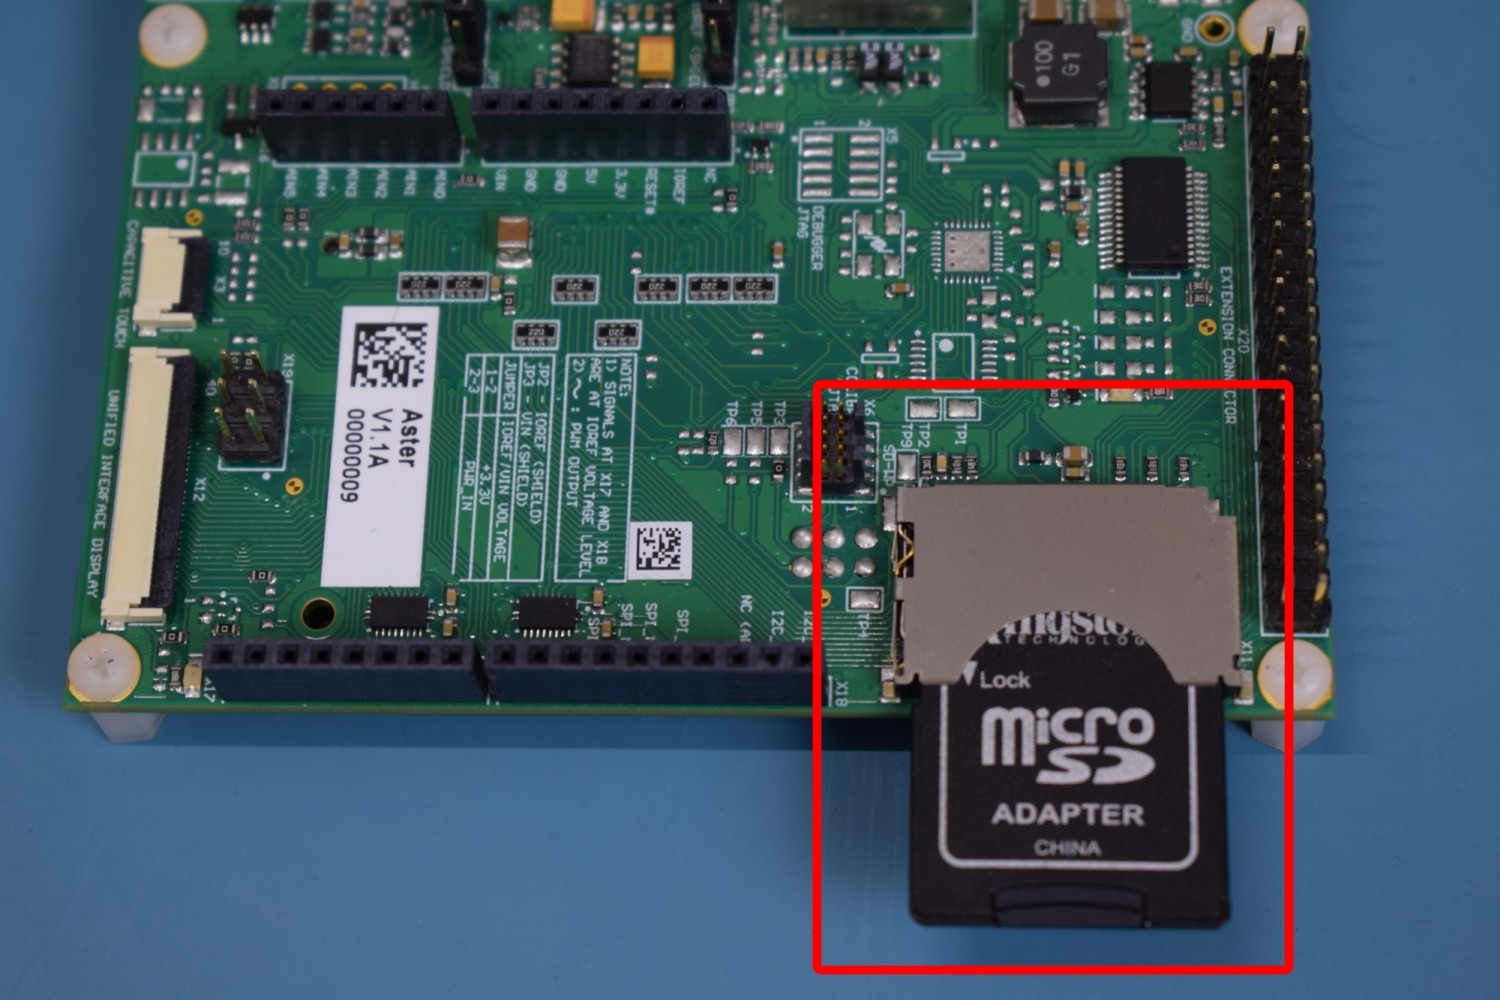
umount /media/<user>/<partition_label>/Insert the SD card in the SD/MMC connector, as illustrated:
SD card slot highlighted
Make sure that you have a working serial terminal application on your host machine. Note: You can go back to the last section if there are any doubts regarding the serial terminal application and its configuration.
Plug the USB A to micro B cable cable into the USB Client Connector (x10) to enter the recovery mode.

USB A to micro B cable
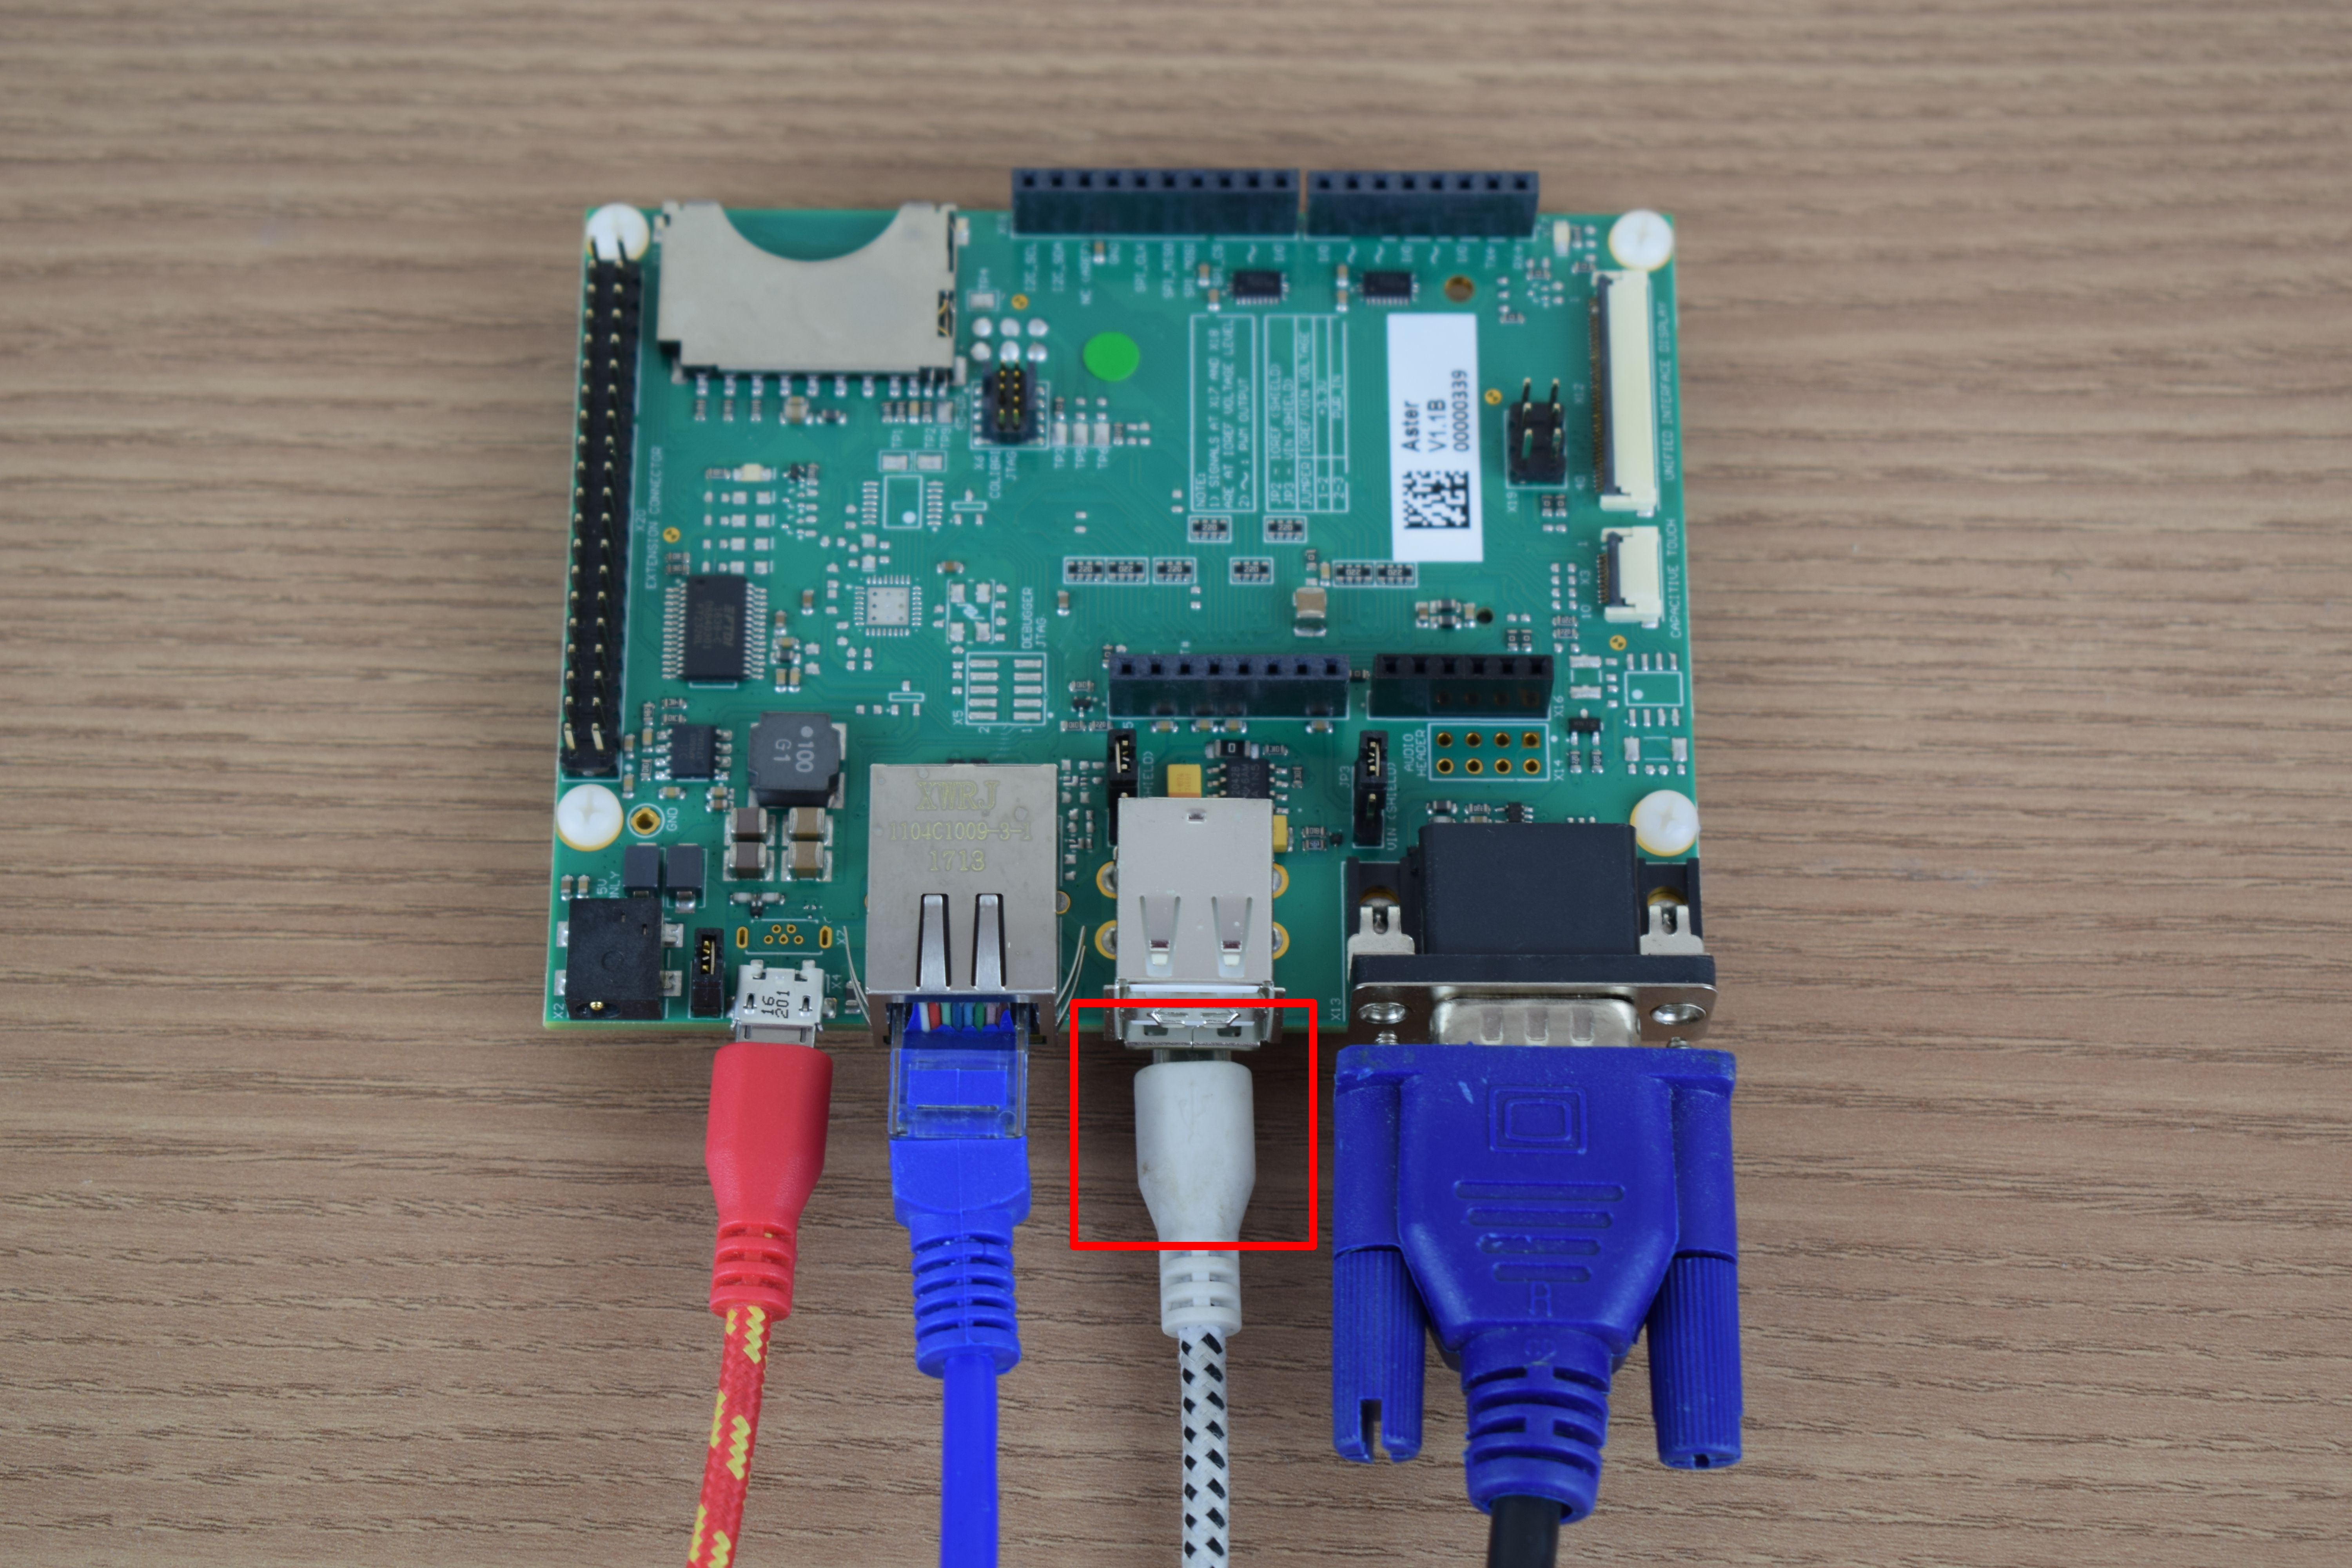
USB A to micro B cable highlighted
Simultaneously apply power to the embedded system and press the SPACE key in your keyboard a few times, while focused in the serial terminal. If you are successful, this procedure will stop the bootloader and you will have a terminal with the following prompt:
Toradex Bootloader 2.1b2 for Tegra Built Aug 8 2017 14:58:18Press [SPACE] to enter Bootloader MenuBootLoader Configuration:C) Clear Flash RegistryX) Enter CommandPrompt ModeD) Download image to RAM nowF) Download image to FLASH nowL) Launch existing flash resident image nowEnter your selection:Note: If you press the SPACE key too late, the system will start booting. Power-off and try again.
Press X to enter the CommandPrompt mode, then enter the following command to enter recovery mode:
Enter your selection: x>reboot rcmRebooting...At your host PC use the following command to load the U-Boot bootloader in the module's RAM:
[ Colibri-T30_LXDE-Image_2.7.4 ] $ ./update.sh -dColibri T30 rootfs detectedAt your target device terminal, you will see that U-boot automatically starts to run:
U-Boot SPL 2016.11-2.7.4+g1b121c6 (Oct 05 2017 - 04:24:38)Trying to boot from RAMU-Boot 2016.11-2.7.4+g1b121c6 (Oct 05 2017 - 04:24:38 +0000)TEGRA30DRAM: 1 GiBMMC: Tegra SD/MMC: 0, Tegra SD/MMC: 1*** Warning - bad CRC, using default environmentIn: serialOut: vidconsoleErr: vidconsoleMISSING TORADEX CONFIG BLOCKModel: Toradex Colibri T30 1GBUSB recovery mode, disabled autobootNet: No ethernet found.Run the following commands at your target device terminal to flash the image:
Colibri T30 # run setupdatereading flash_blk.img710 bytes read in 13 ms (52.7 KiB/s)## Executing script at 81000000reading colibri_t30/flash_blk.img5083 bytes read in 23 ms (215.8 KiB/s)## Executing script at 81000000enter "run update" to update the entire moduleColibri T30 # run updateAfter a while, the system boots the updated Linux image and you will see the login message:

Login to the Linux terminal
