Attention: the Quickstart Guide for BSP 2.8, based on the Ångström distribution, is not being updated anymore. Depending on your SoM, you have different options:
Vybrid and Tegra: the information is provided as-is and still accurate, since newer Toradex BSPs are not ported to those SoMs. Just keep in mind that the Guides are not being maintained anymore, even if we find bugs or outdated instructions.
Apalis TK1 (all variants), Colibri iMX6ULL (all variants), Colibri iMX7S 256MB and Colibri iMX7D 512MB: these computer on modules are still regularly maintained in our BSPs and, to get started, you must check the software page Toradex BSP Layers and Reference Images for Yocto Project. Since Torizon is not supported, at the moment a Quickstart Guide is not available.
All other i.MX-based SoMs: you have two options to get started with embedded Linux: the first is to follow the Quickstart Guide for Torizon, which provides the greatest out-of-the-box experience, or if you choose to use Yocto, check the software page Toradex BSP Layers and Reference Images for Yocto Project.
In this section, you will access the Linux terminal through the debug UART interface and learn basic useful Linux commands. In this module you will:
Note: We will access the module using the Serial Terminal, therefore the USB keyboard and video interface connected to the module will not be used in this section.
Open a terminal in the host machine:

Host terminal
Add your user to dialout group:
sudo usermod -a -G dialout userWarning: Change the user on the command above to your system username.
Warning: After the command it is necessary to reboot or logoff the system.
Install a serial terminal emulator application in your host computer:
sudo apt-get install gtktermOpen GTKterm, you can do it from your distro menu or from the terminal:

Find GTKterm on menu
gtkterm
GTKterm window
To start the serial application, the parameters must be correctly set. From GTKTerm menu, select configuration->port:
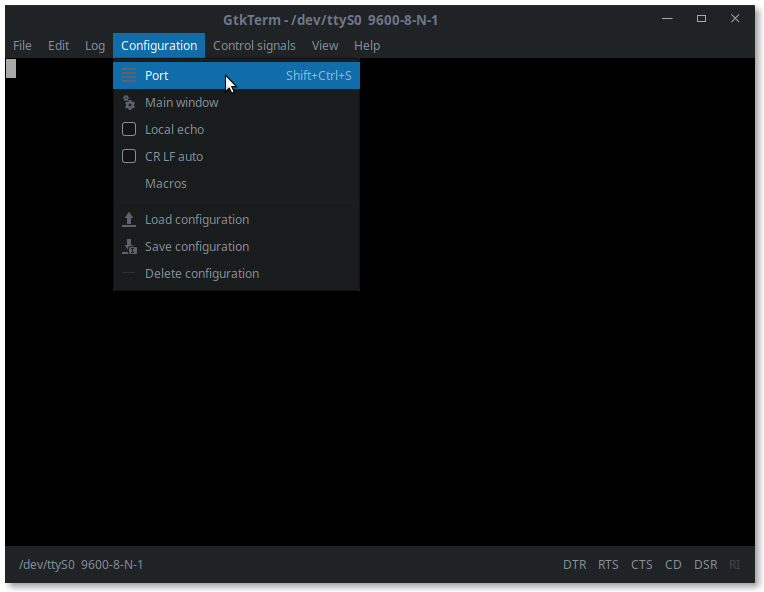
GTKterm configuration menu
From the configuration window, select the serial device that corresponds to your module:
Note: Generally the last device listed on Port combo box (/dev/ttyUSB0) is the device you want. But if you have more than one usb serial connected, there will be more options listed e.g. /dev/ttyUSB1, /dev/ttyUSB2 and etc... To find out which one is the serial port device that you must use, you can unplug the USB-Serial adapter --> close the configuration window --> open it again and find the new device listed.
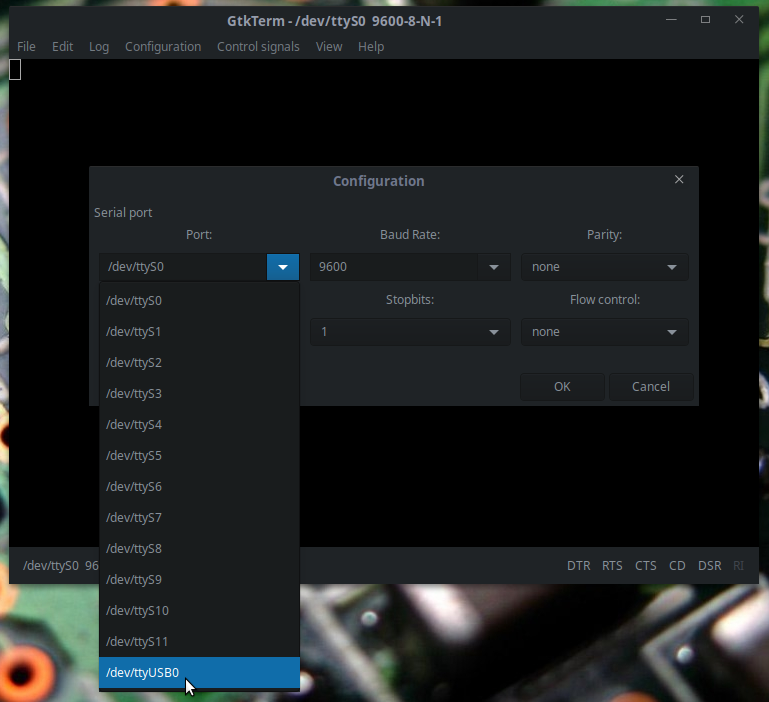
GTKterm configuration select serial device port
With the device selected we need to set the correct baud rate 115200:
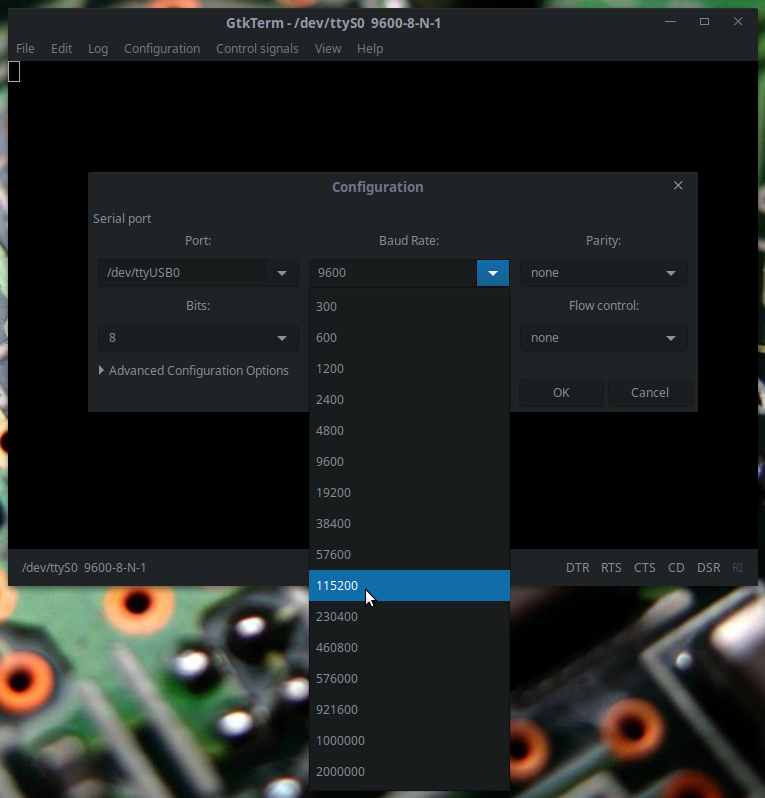
GTKterm configuration set baud rate
With this configuration click "Ok" button to connect:

GTKterm configuration seted click ok
Power-on the embedded system. Messages will immediately start to be printed in the serial terminal. When the messages stop, a login prompt will be the last content printed to the terminal. You can press Enter to refresh the login prompt if any message is printed after it.
Warning: To login, the default username is root and no password is required:

Login prompt
Note: In some cases, it is needed to close or to reconnect to the serial port, you can do it by pressing F5 to connect/reconnect and F6 to close, or use the Control signals menu:

GTKterm Control signals
Some modules will get a kernel panic error while updating from an image 2.7b3 or older to 2.74b4 or newer, it occurs because images 2.7b3 and older use Ext3 for mounting the root file system, and starting with image 2.7b4, the root file system is mounted using Ext4. To solve this problem, power-cycle the system and enter U-Boot command line by pressing any key, then reload the default U-Boot environment and save it, as presented in the commands below:
env default -asaveenvbootWarning: If you have custom U-Boot variables set, please make sure to copy them before proceeding, since this will erase any custom variables.
If you are new to Linux or the command-line interface and want to learn some basic commands, please read this article
