Attention: the Quickstart Guide for BSP 2.8, based on the Ångström distribution, is not being updated anymore. Depending on your SoM, you have different options:
Vybrid and Tegra: the information is provided as-is and still accurate, since newer Toradex BSPs are not ported to those SoMs. Just keep in mind that the Guides are not being maintained anymore, even if we find bugs or outdated instructions.
Apalis TK1 (all variants), Colibri iMX6ULL (all variants), Colibri iMX7S 256MB and Colibri iMX7D 512MB: these computer on modules are still regularly maintained in our BSPs and, to get started, you must check the software page Toradex BSP Layers and Reference Images for Yocto Project. Since Torizon is not supported, at the moment a Quickstart Guide is not available.
All other i.MX-based SoMs: you have two options to get started with embedded Linux: the first is to follow the Quickstart Guide for Torizon, which provides the greatest out-of-the-box experience, or if you choose to use Yocto, check the software page Toradex BSP Layers and Reference Images for Yocto Project.
In this section, you will build and run a sample application to access GPIO using the M4 core. We will use buttons as inputs and LEDs as outputs.
In this module, you will:
GNU MCU Eclipse (formerly known as GNU ARM Eclipse) is an Eclipse CDT plug-in that includes extensions and tools for embedded Arm and RISC-V development. It allows you to create and manage projects, including building and debugging for those targets.
The easiest way to install GNU MCU Eclipse is via the Eclipse Marketplace. Open the Marketplace by clicking on Help -> Eclipse Marketplace....

Eclipse Marketplace menu item
On the Marketplace window, search for GNU MCU Eclipse and click Install. Accept the license terms and proceed. You will be asked to restart Eclipse.
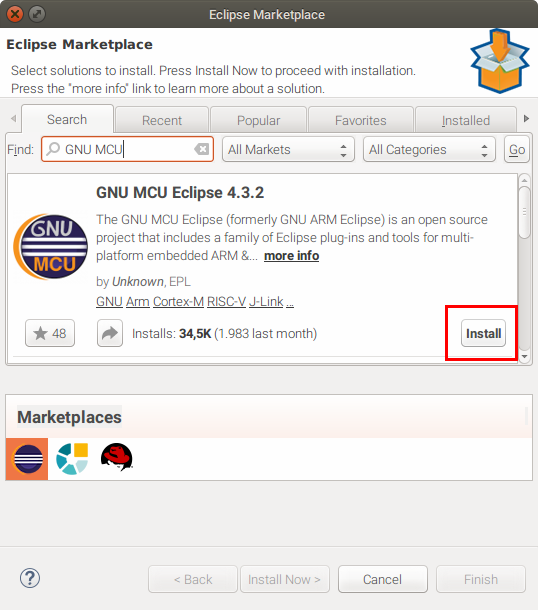
Eclipse Marketplace search and install
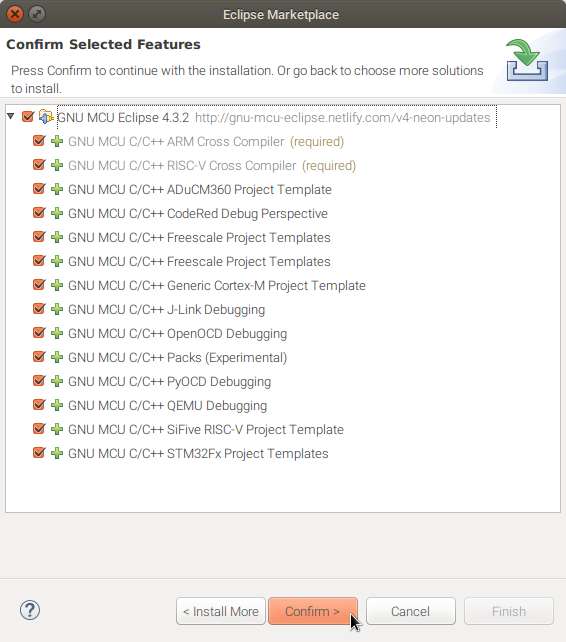
Plugin installation confirm
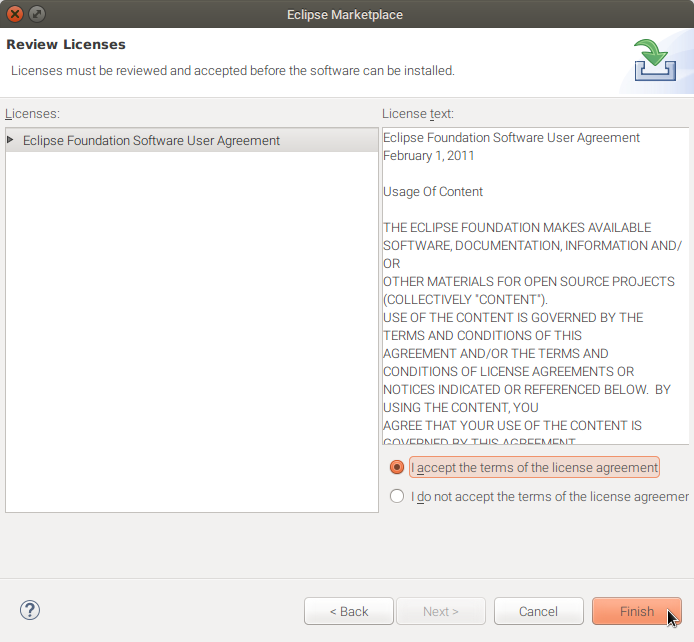
Plugin license prompt
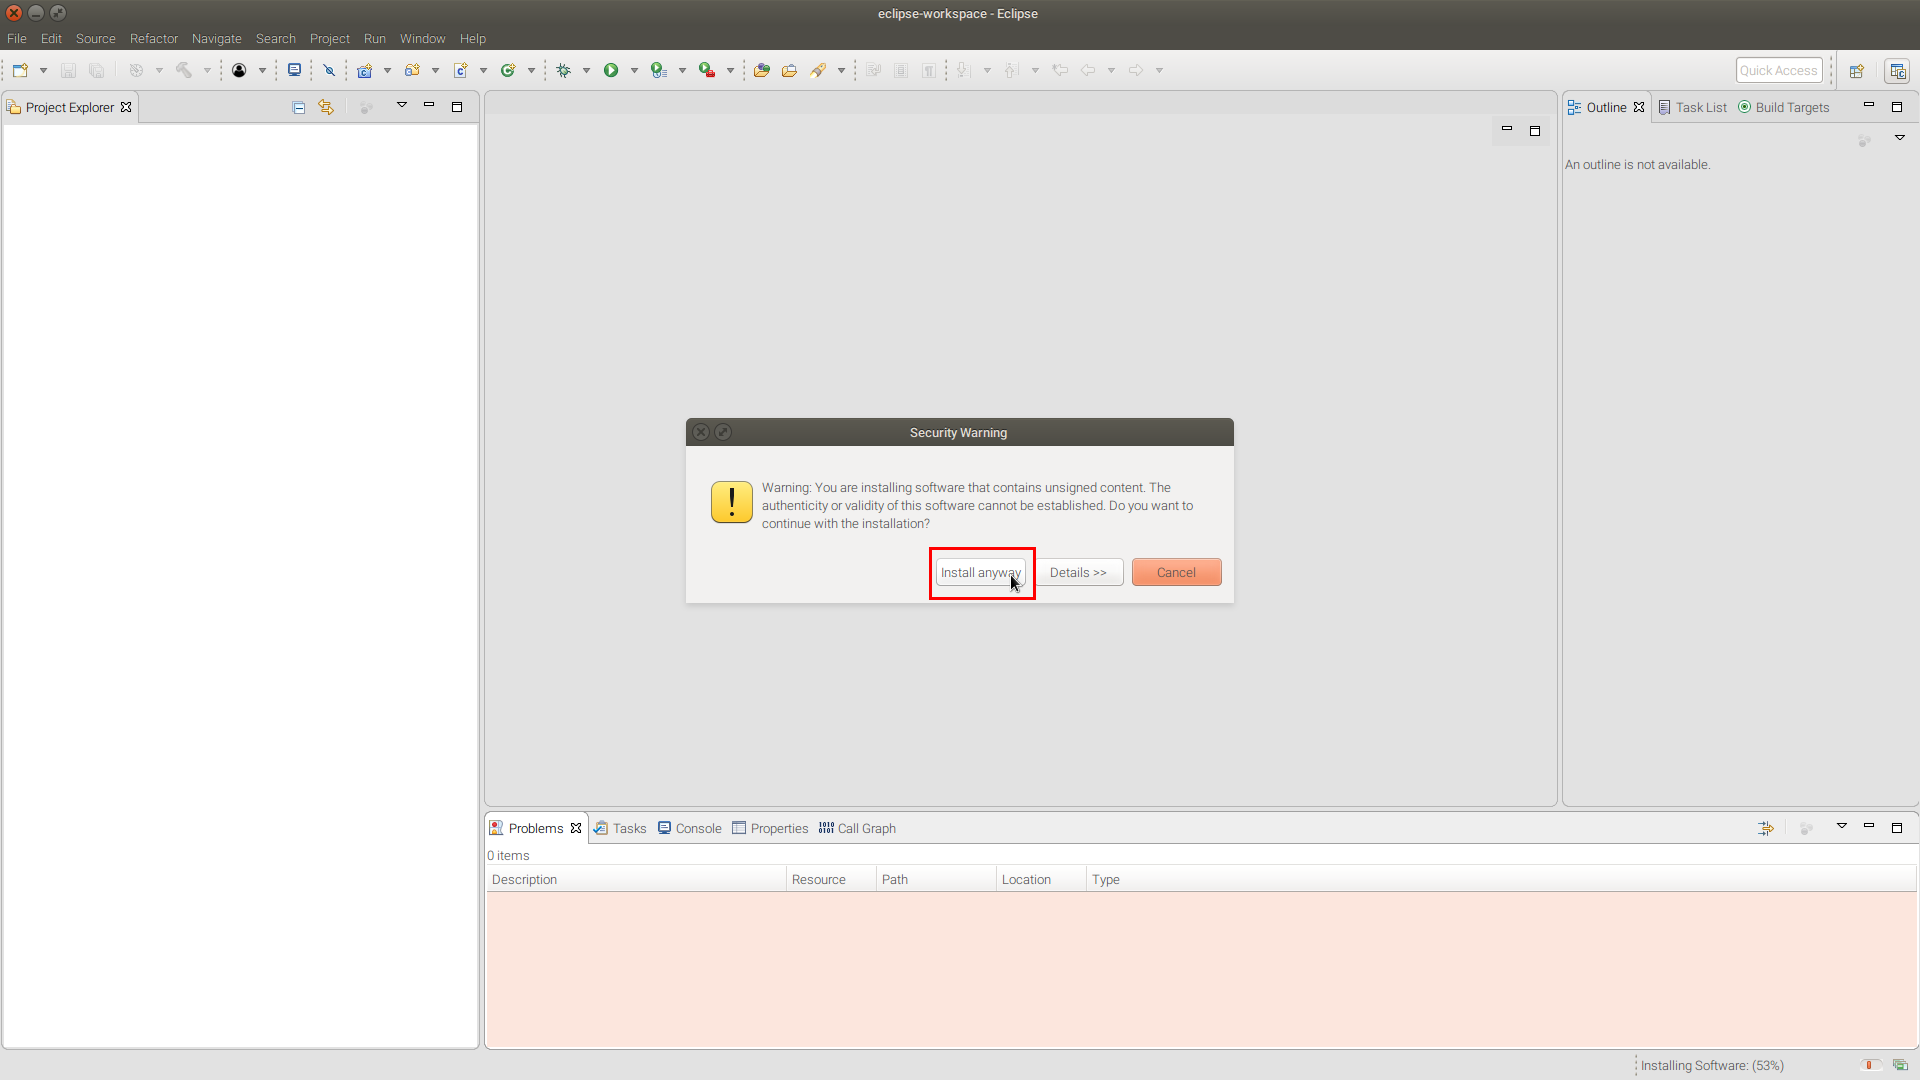
Plugin install anyway
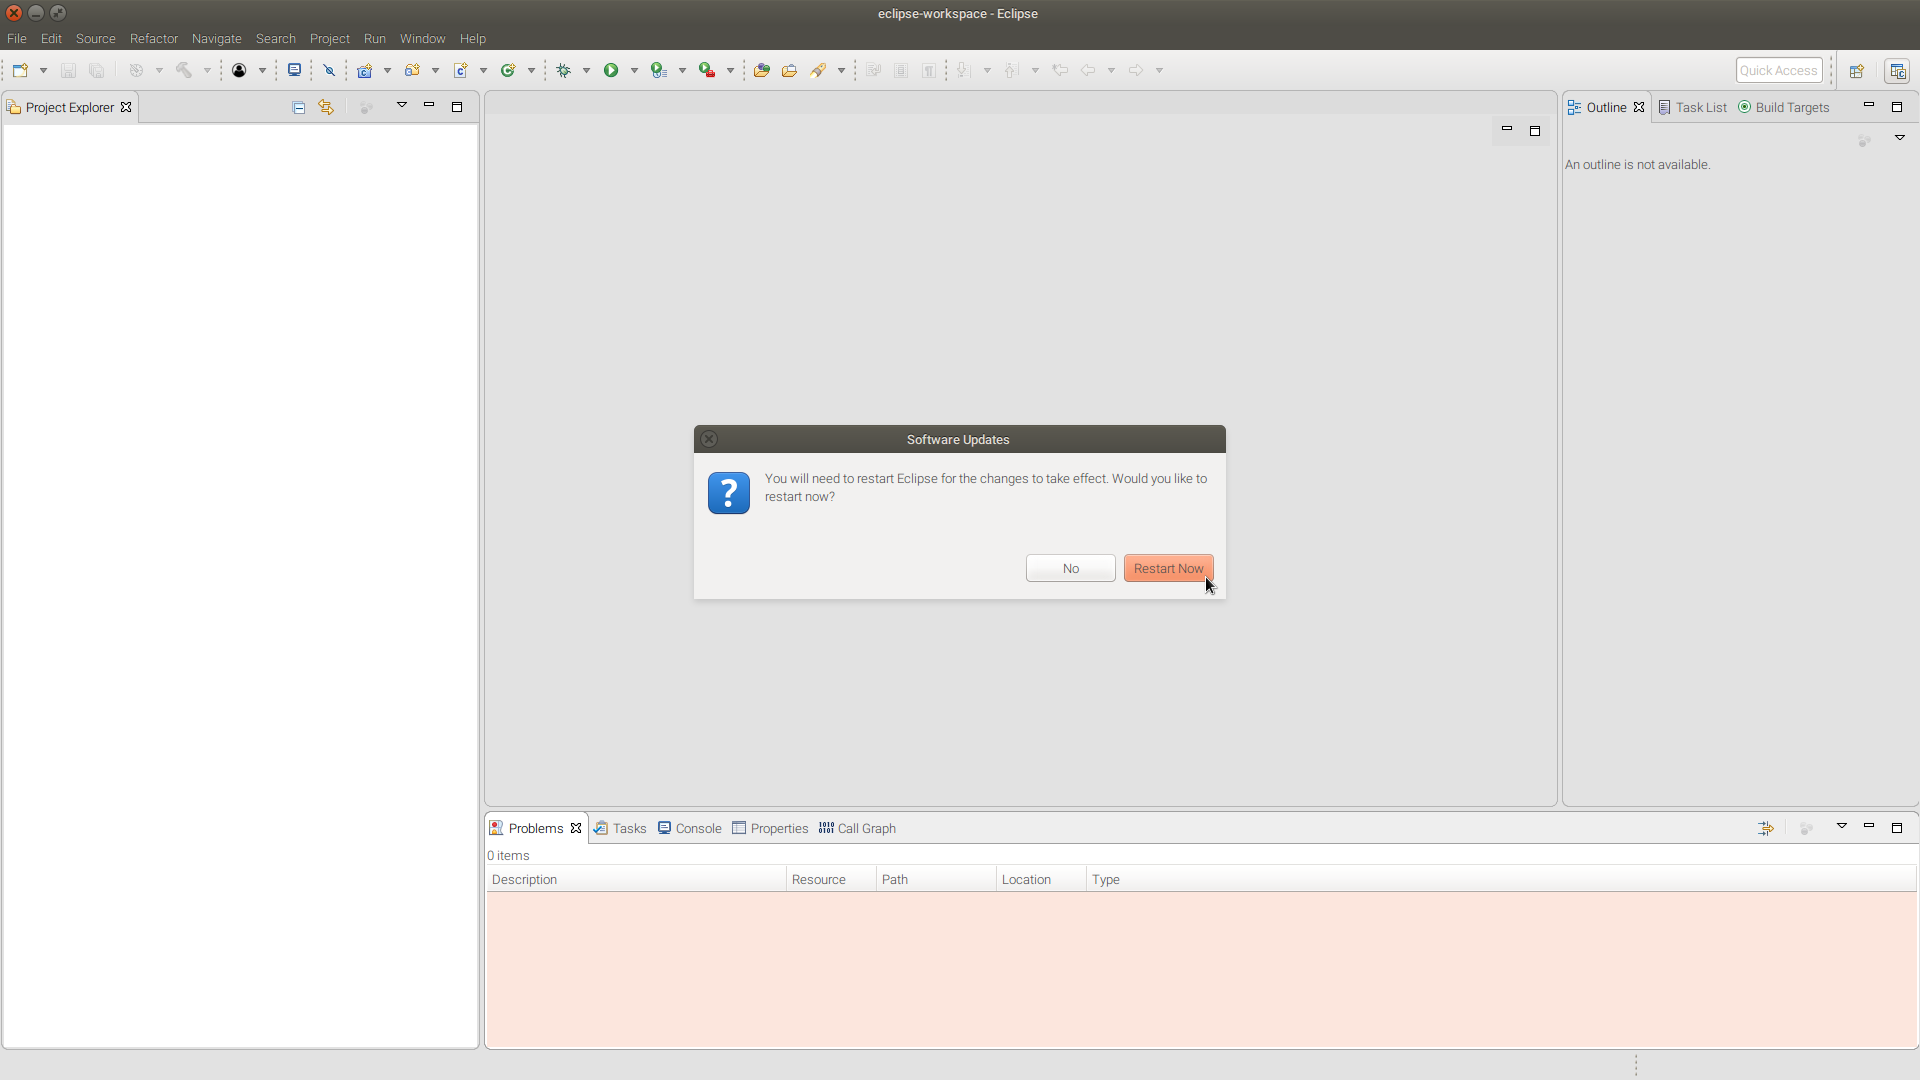
Eclipse plugin restart
Since you've already installed the GNU Arm Embedded Toolchain in the previous section, it should be automatically be detected by the GNU MCU Eclipse plugin.
Let's set up and build your first Eclipse project for the M4 core. We will use the GPIO example application that's bundled with FreeRTOS.
Create a new Eclipse project by clicking File -> New -> Project...
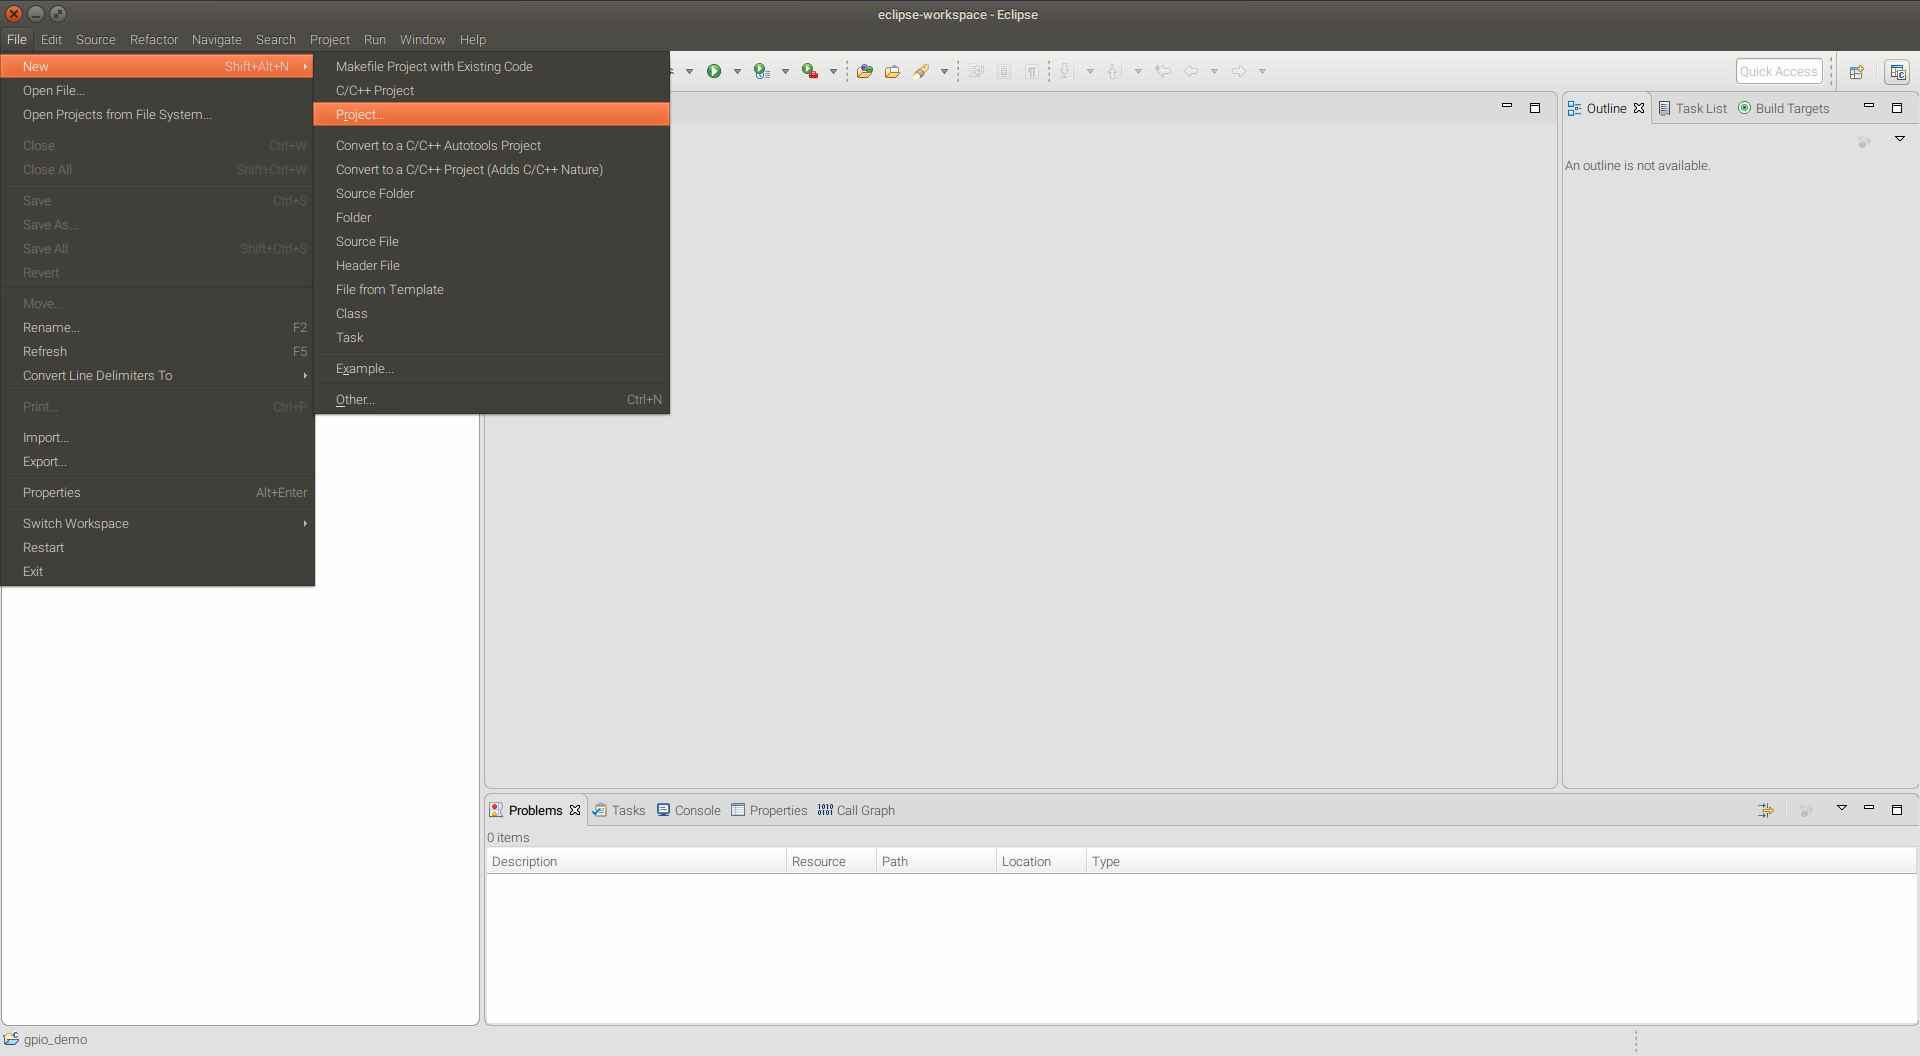
Eclipse new project
Then select C/C++ -> C Project
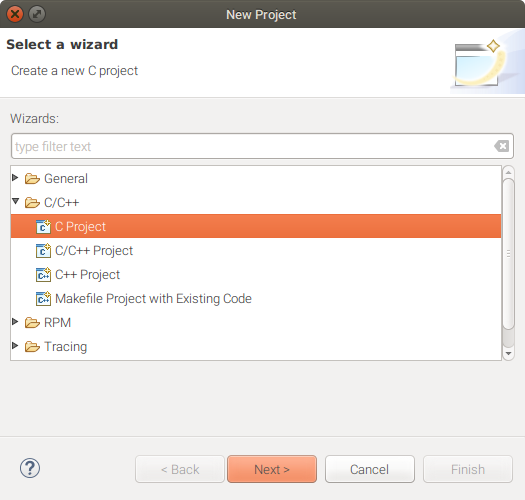
Eclipse New C Project
Give your project a name. On "Project type", select Empty Project. On "Toolchains", select "ARM Cross GCC". Click Next.

Eclipse toolchain selection
Click next again to create the default Debug and Release configurations.
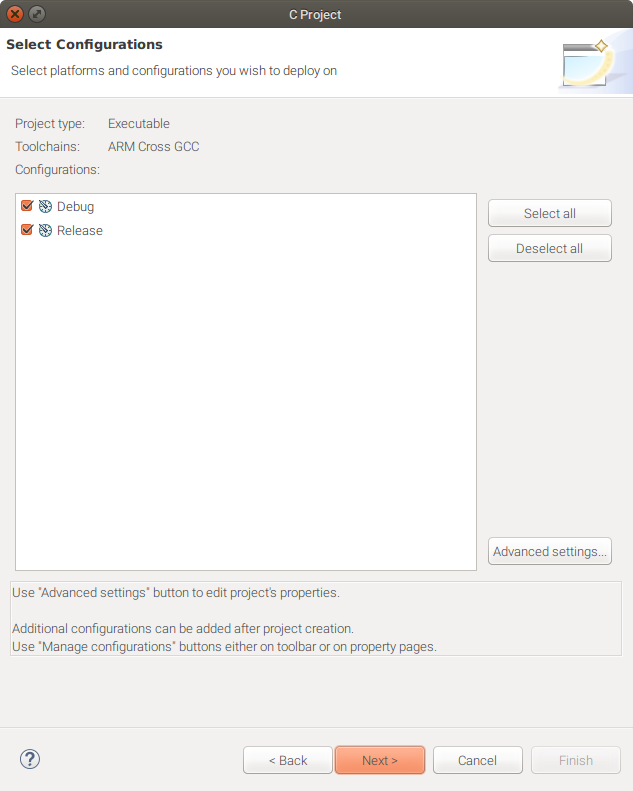
Eclipse debug release
Check if "Toolchain path" is already filled with the path you've installed the toolchain to in the previous section. Click Finish.
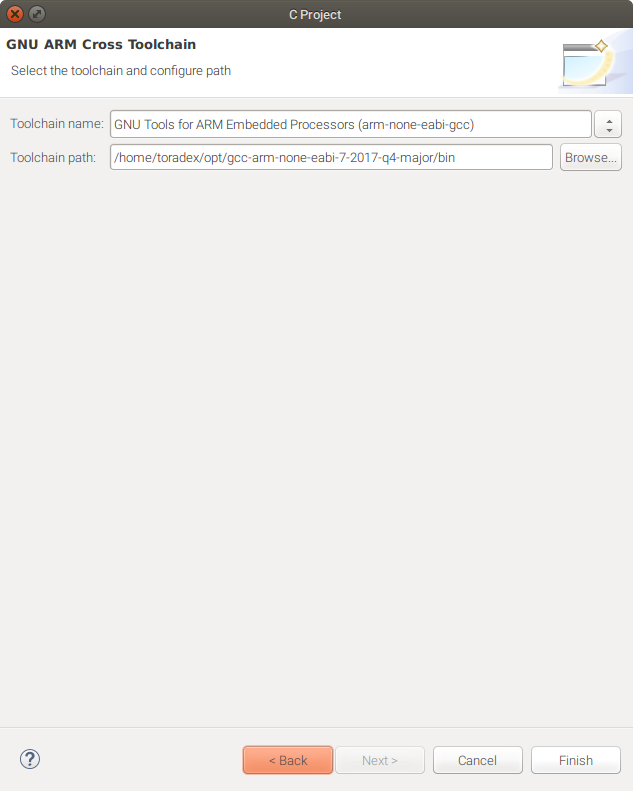
Eclipse confirm toolchain path
Using your preferred file manager or the command line, go to your project directory. It's located inside the Eclipse workspace directory which you've set up when Eclipse first starts.
Once inside your project directory, create a subdirectory called sources.
$ cd <your_project_diretory>
$ mkdir sources
$ cd sources
Now you're going to copy some files from the FreeRTOS repository used in the previous tutorial.
From the FreeRTOS directory, copy the platform folder to your sources directory.
$ cp -r ~/freertos-toradex/platform ./
Note: In this demo, we will build a bare metal application. If you're going to use FreeRTOS in your application, make sure to also copy the rtos folder from the FreeRTOS directory to your sources directory.
From examples/imx7_colibri_m4, copy the files board.c, board.h, clock_freq.c, clock_freq.h, gpio_pins.c, gpio_pins.h, pin_mux.c and pin_mux.h to a folder examples/imx7_colibri_m4 inside your sources directory.
$ mkdir examples
$ cd examples
$ mkdir imx7_colibri_m4
$ cd ../..
$ cp examples/imx7_colibri_m4/{board*,clock_freq*,gpio_pins*,pin_mux*} examples/imx7_colibri_m4
It's necessary to make a small change to the gpio_pins.c file. On line 34, comment out the define for gpio_ctrl.h:
 gpio_ctrl.h
    @@ -31,7 +31,7 @@
    #include <assert.h>
    #include "gpio_pins.h"
    #include "board.h"
    +//#include "gpio_ctrl.h"
    -#include "gpio_ctrl.h"
    #include "gpio_imx.h"

    gpio_config_t gpioLed = {
then save the file.
From examples/imx7_colibri_m4/driver_examples/gpio_imx, copy hardware_init.c and main.c to your sources directory.
$ cp examples/imx7_colibri_m4/driver_examples/gpio_imx/{main.c,hardware_init.c} ./
Your project directory should look like this:
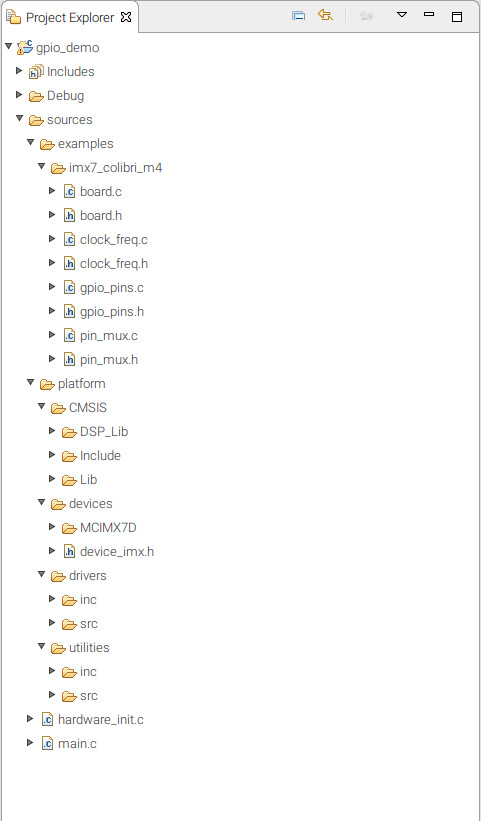
Eclipse file tree
To configure the toolchain, right-click your project on Project Explorer, then go to Properties.
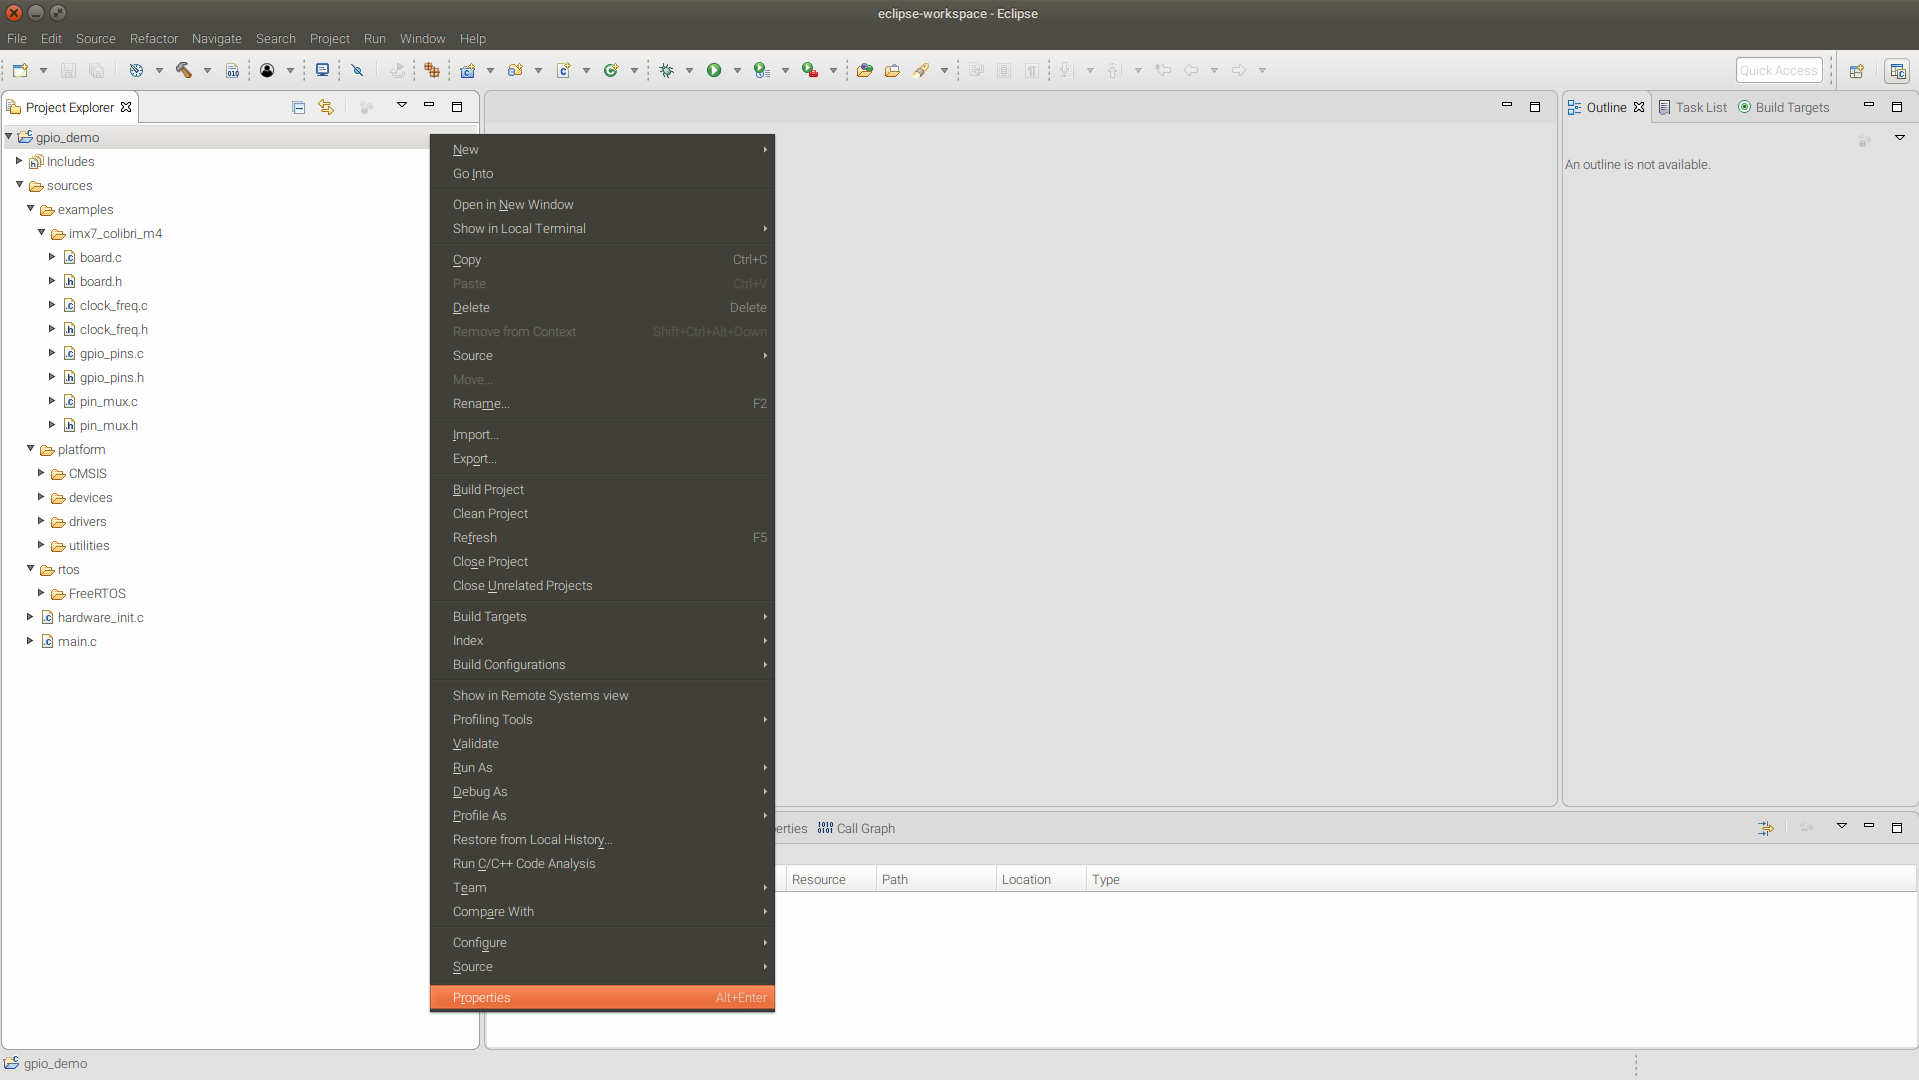
Eclipse Project Properties Menu
On the Properties window, go to C/C++ Build -> Settings. In the Tool Settings tab on the right panel, the Target Processor section should look like this:

Eclipse Target Processor Toolchain Settings
In the Optimization section:
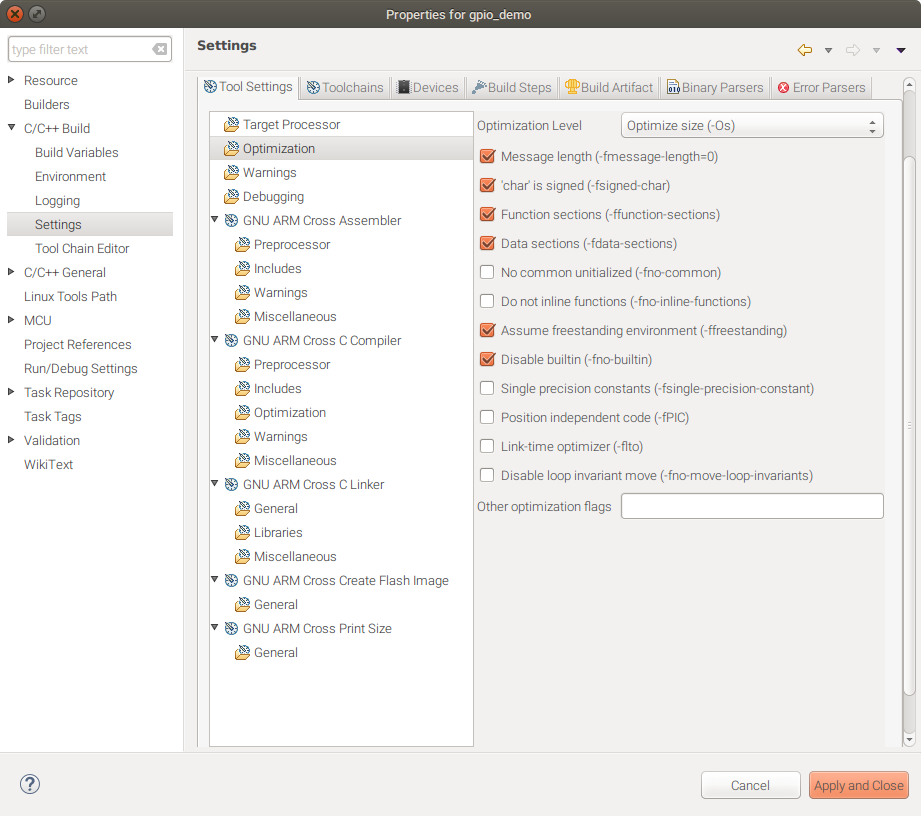
Eclipse project Optimization settings
In the compiler Preprocessor section, define three symbols:
CPU_MCIMX7D_M4
ARM_MATH_CM4
__DEBUG
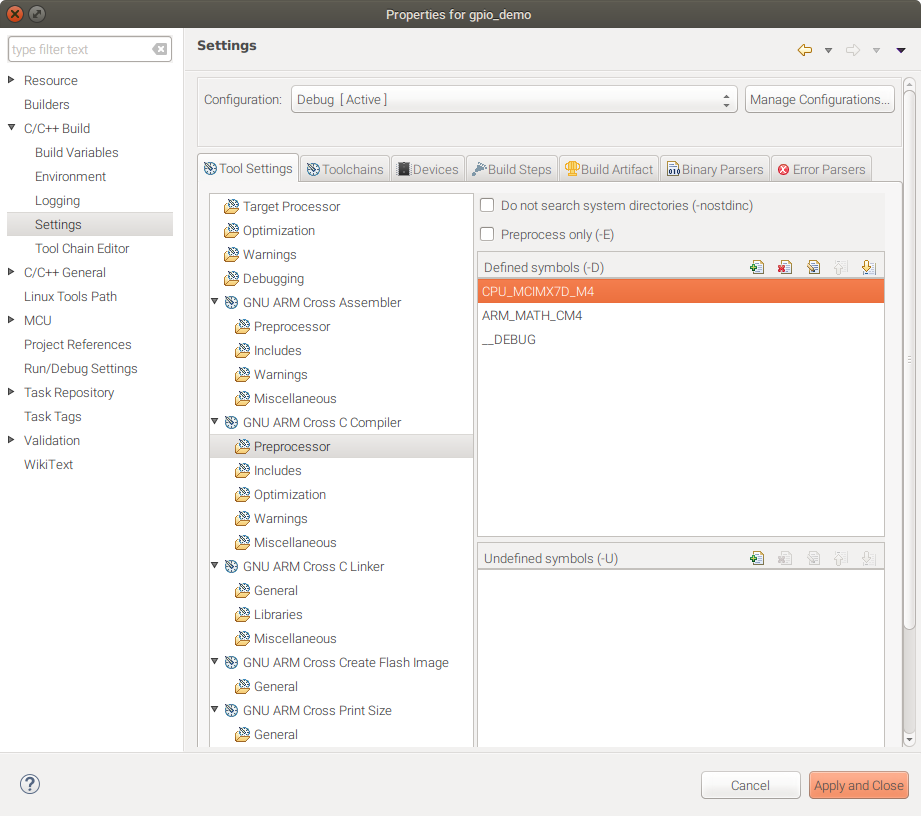
Eclipse project preprocessor settings
Specify the include paths so the compiler can find the header files:
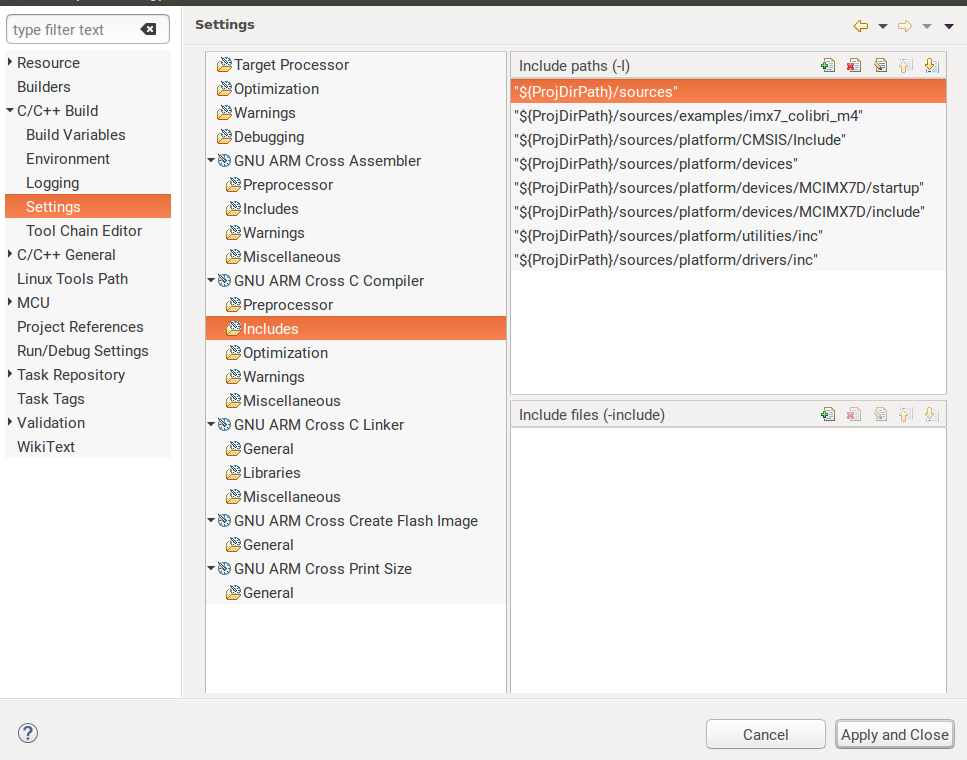
Eclipse project compiler includes
In the linker General section, we'll set the application to use the i.MX 7's tightly coupled memory (TCM) region to store the data:
"MCIMX7D_M4_tcm.ld"
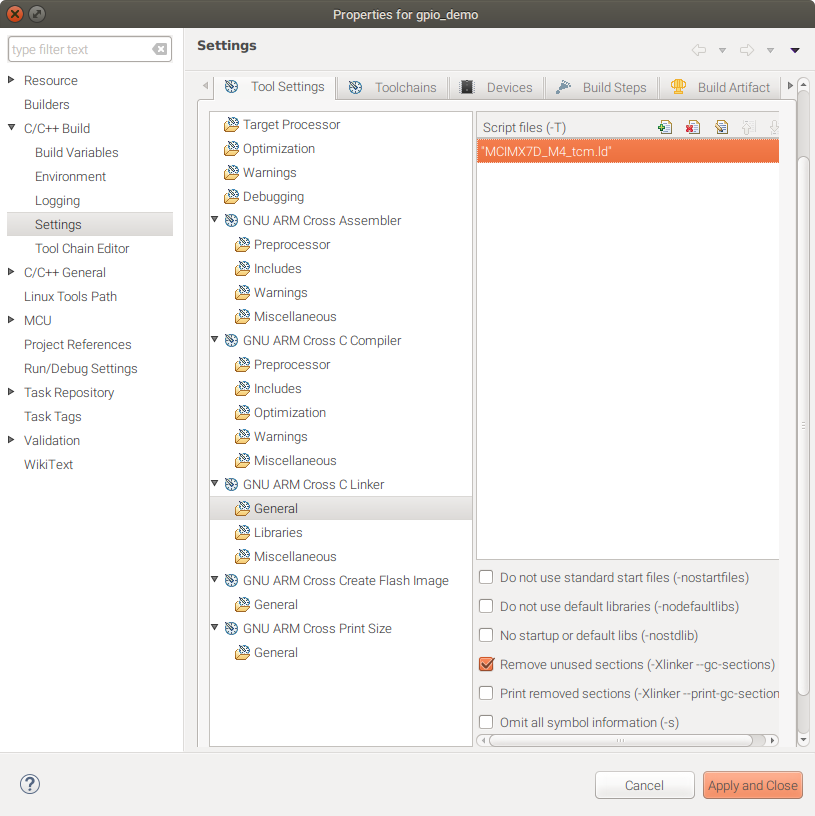
Eclipse project linker general settings
Also, we must set the path to the linker file in Linker -> Libraries:
"${ProjDirPath}/sources/platform/devices/MCIMX7D/linker/gcc"
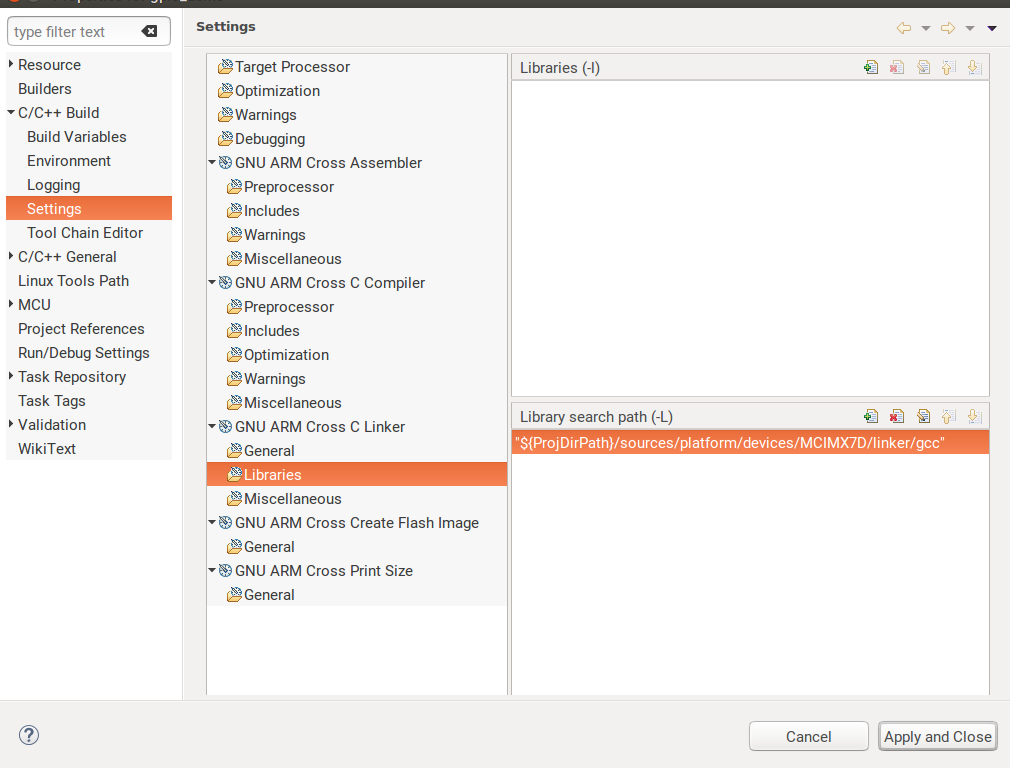
Eclipse linker libraries settings
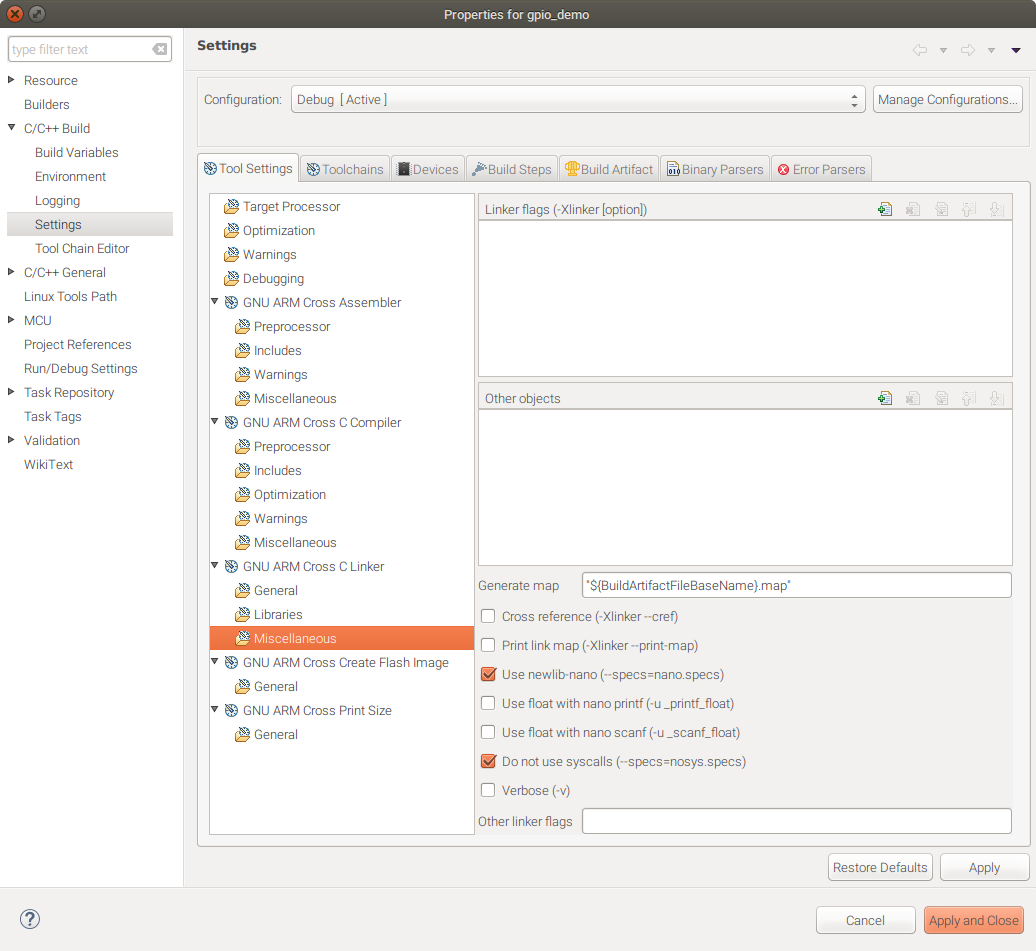
In the linker Miscellaneous settings, check "Use newlib-nano" and "Do not use syscalls":
Eclipse linker misc settings
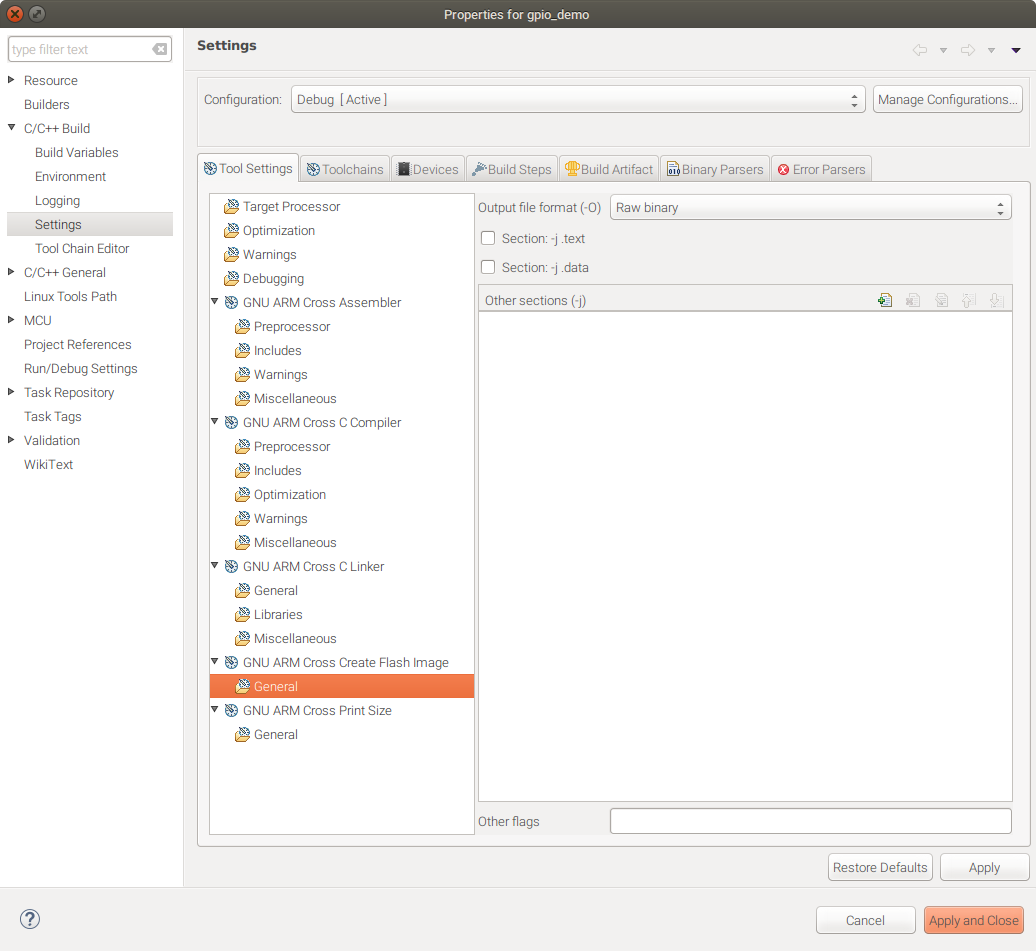
In GNU ARM Cross Create Flash Image -> General settings, set Output File Format to Raw binary:
Eclipse create flash image settings
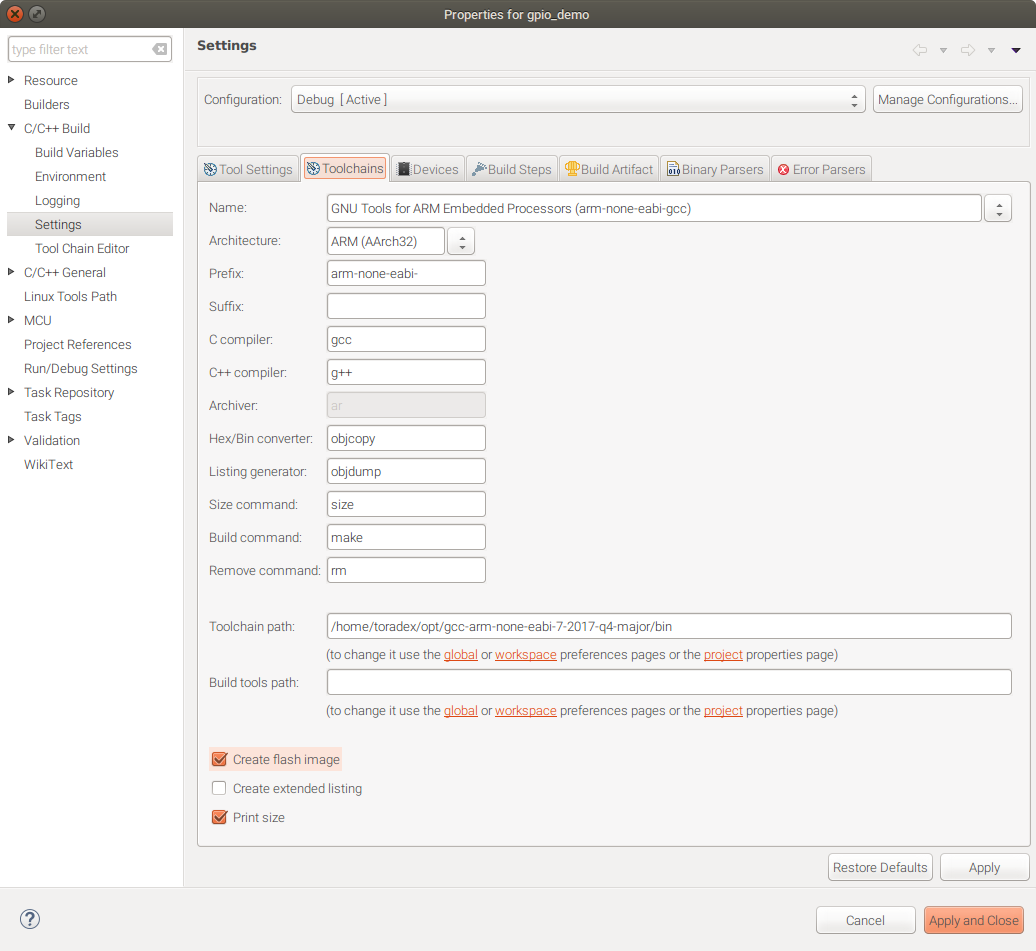
In the Toolchains tab, make sure Create flash image is selected:
Eclipse toolchains create flash image check
Click Apply and Close.
Click the Build icon or press Ctrl+B to build the project.
The console should show "Build Finished" and there should be a new Binaries item in Project Explorer.
You will find the compiled binary in the Debug subdirectory inside your project directory.
Copy the .elf file to an SD card and upload the firmware to the M4 core just like on the previous tutorial:
$ cp <your_project_directory>/Debug/gpio_demo.elf /media/toradex/SDCARD
Power up your board, stop the boot process to enter the U-Boot console, then enter:
Colibri iMX7 # fatload mmc 0:1 ${loadaddr} gpio_demo.elf
...
Colibri iMX7 # bootaux ${loadaddr}
...
## Starting auxiliary core at 0x1FFF8311 ...
Colibri iMX7 #
